Custom Snapmaker U1 Firmware
NFC Tags & Spoolman Setup Guide
by ni4223
Put an NFC tag on a spool and the printer recognises it the moment you load it, brand, material and colour filled in for you, while Spoolman counts down how much filament is left.
Only want the printer to recognise your spools? You don’t need Spoolman. Do section 1, then in section 3 set Filament Detection to OpenRFID and leave Spoolman Integration off. Then go straight to section 5.
Contents
- 1. Extended firmware
- 2. Spoolman
- 3. Enable Spoolman and filament detection
- 4. Writing tags with the app
- 5. Writing tags without Spoolman
- 6. Filament Manager
1. Extended firmware
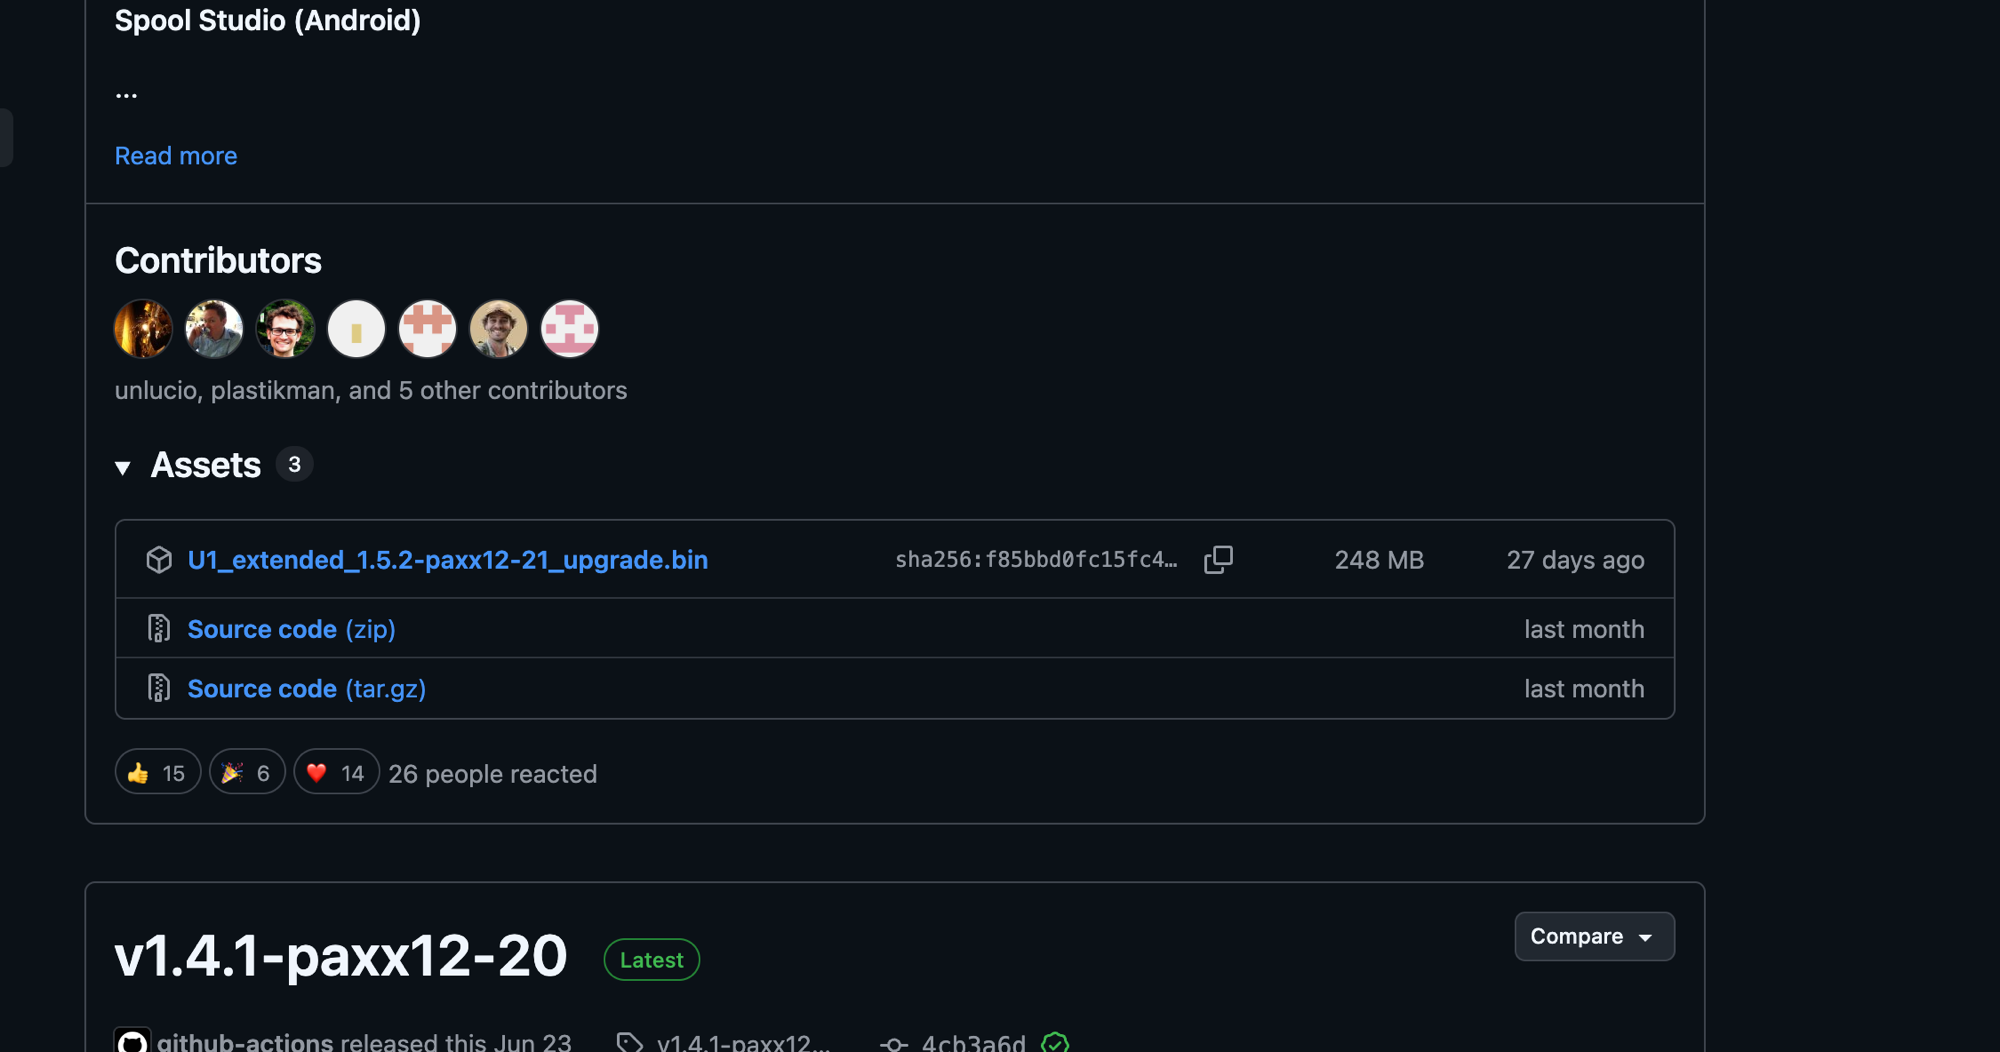
Grab the firmware from the
Releases page.
Open Assets and download the file ending in _upgrade.bin, around 250 MB.
Ignore the source code files.
For this guide you will need v1.6.0 or later.
Installing the firmware
Covered in the Installation Guide.
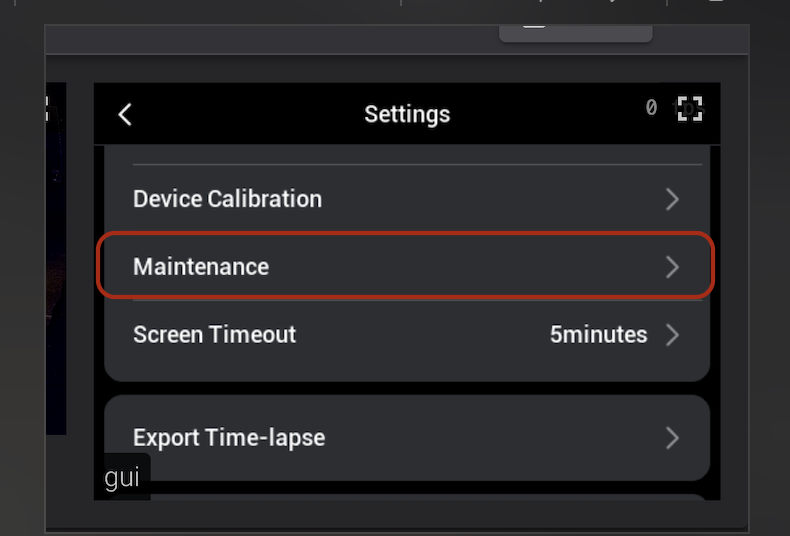
While you’re at the printer, turn on Advanced Mode. It’s off by default and you’ll need it for the settings page later. On the touchscreen go to Settings and open Maintenance:
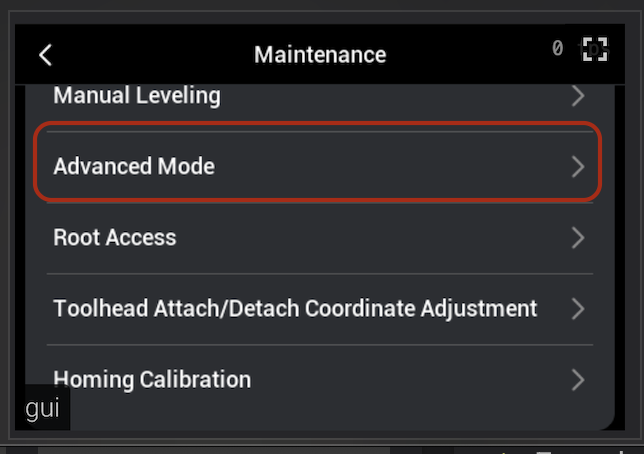
Then Advanced Mode, turn it on, and restart the printer:
2. Spoolman
Skip this if you only want the printer to recognise your spools, see the note at the top.
Spoolman is a database of your filament. It’s not part of the firmware, you run it yourself. I run mine on a Raspberry Pi, but anything will do: a NAS, an old laptop, a mini PC, your desktop. The only real requirement is that it’s switched on when you’re printing, otherwise the printer has nothing to look up.
Set it up now, before you go any further, using the
Spoolman installation guide.
You’ll end up with a web page at http://<server-ip>:7912. Get that far and come
back here.
The printer talks to it over your network, so it has to be reachable from the printer, not just from your laptop. Give that machine a fixed IP too, or a reservation on your router, because if the address changes the printer quietly stops finding your spools.
3. Enable Spoolman and filament detection
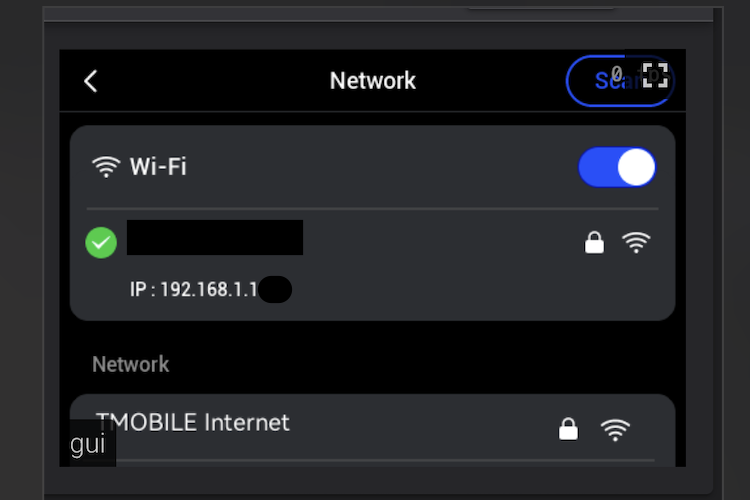
Open http://<printer-ip>/firmware-config/ in a browser. The printer’s IP is in
the network settings on the touchscreen, something like 192.168.1.50. If the
page won’t load, Advanced Mode isn’t on yet, go back to section 1.
In Firmware-config go to Settings > Snapmaker Components.
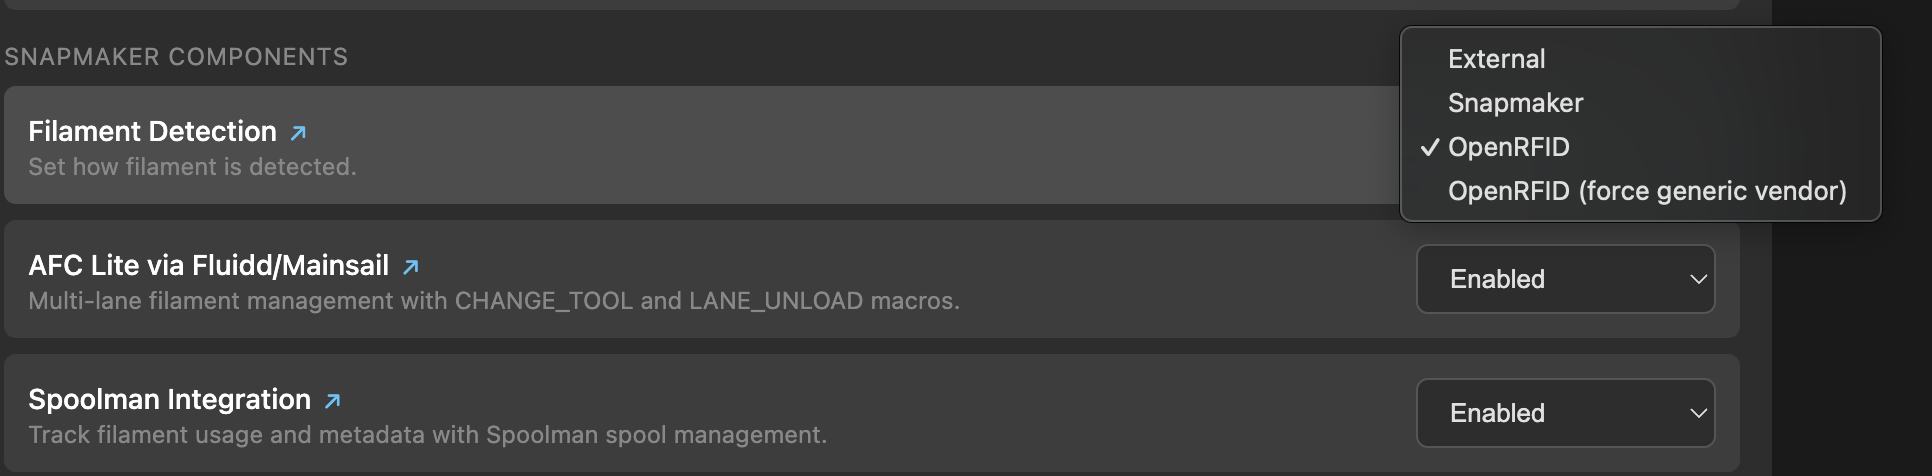
Filament Detection. Set it to OpenRFID. It reads far more tag formats than the stock reader does, including factory tags from Bambu, Elegoo, Creality and others. More on that in RFID Format & Reader Design.
AFC Lite via Fluidd/Mainsail. Set it to Enabled. This is what gives you the four lanes in Fluidd or Mainsail, showing which spool is loaded where. See AFC-Lite.
Spoolman Integration. Set it to Enabled and type in the Spoolman address
from section 2, with the http:// and the port:
http://192.168.1.100:7912
The printer checks it can actually reach Spoolman before it saves, so if you get an error the address is wrong or Spoolman isn’t running. Once it goes through, Klipper and Moonraker restart themselves and are back in a few seconds. No reboot needed.
4. Writing tags with the app
Buy some NTAG215 or NTAG216 tags.
The SnapSpeed spool that came with the U1 already has a Snapmaker tag on it, so you can check the reading and mapping workflow before yours arrive.
The steps below use my own app SpoolPainter.
Other community apps do a similar job, they’re listed on the community apps page.
Point the app at Spoolman
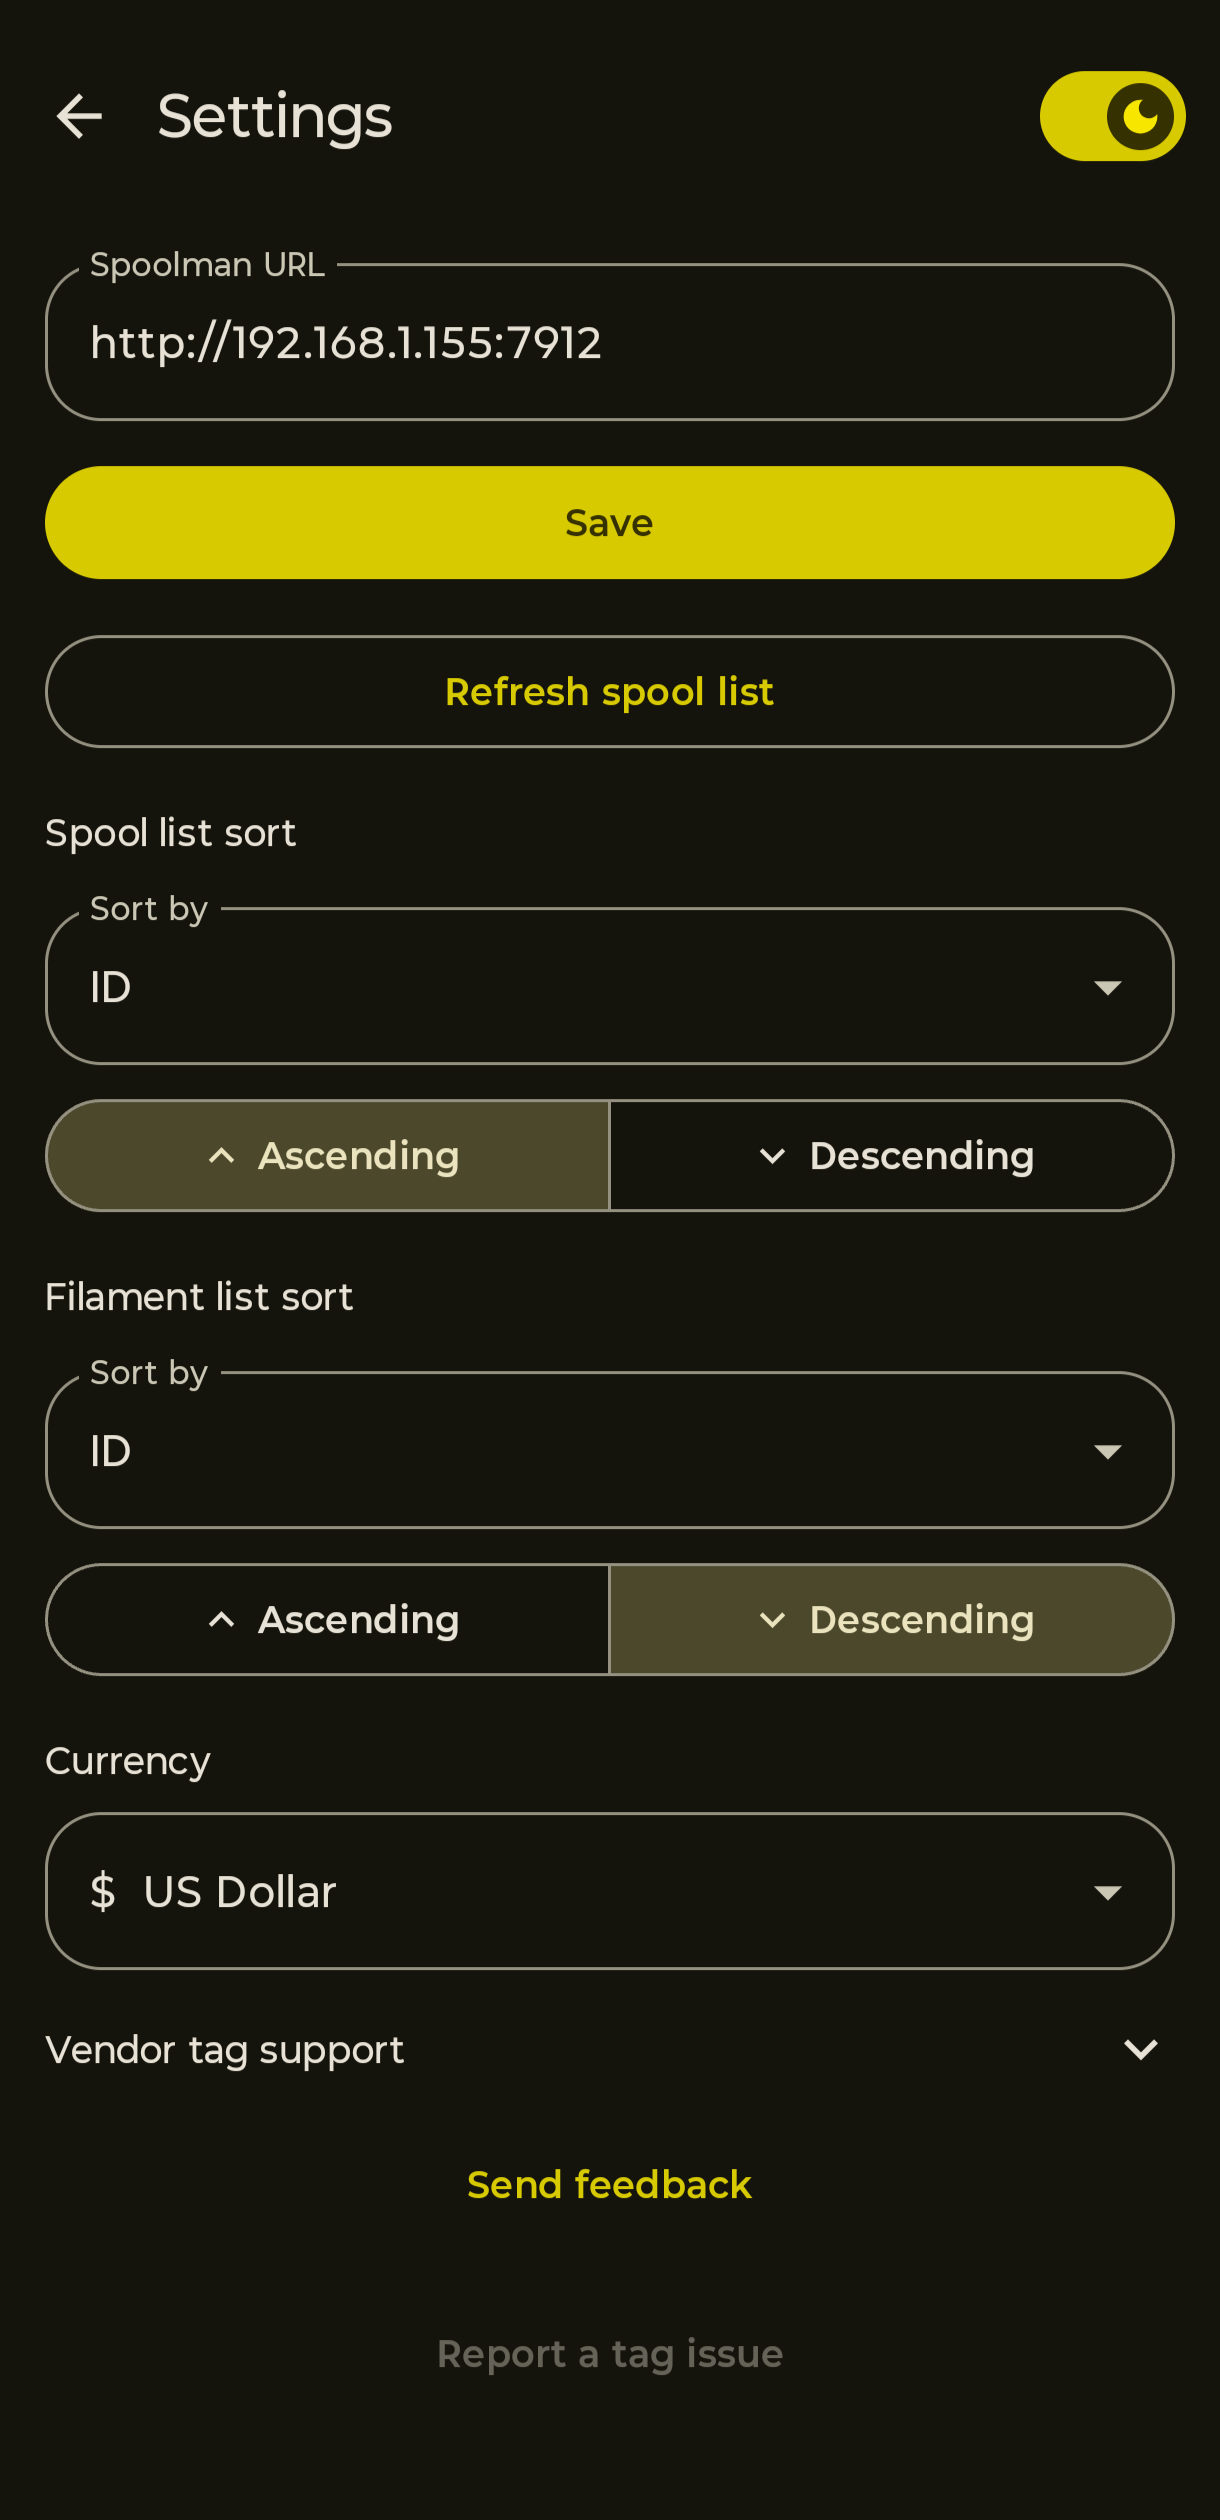
Open Settings, paste your Spoolman address, and hit Save.
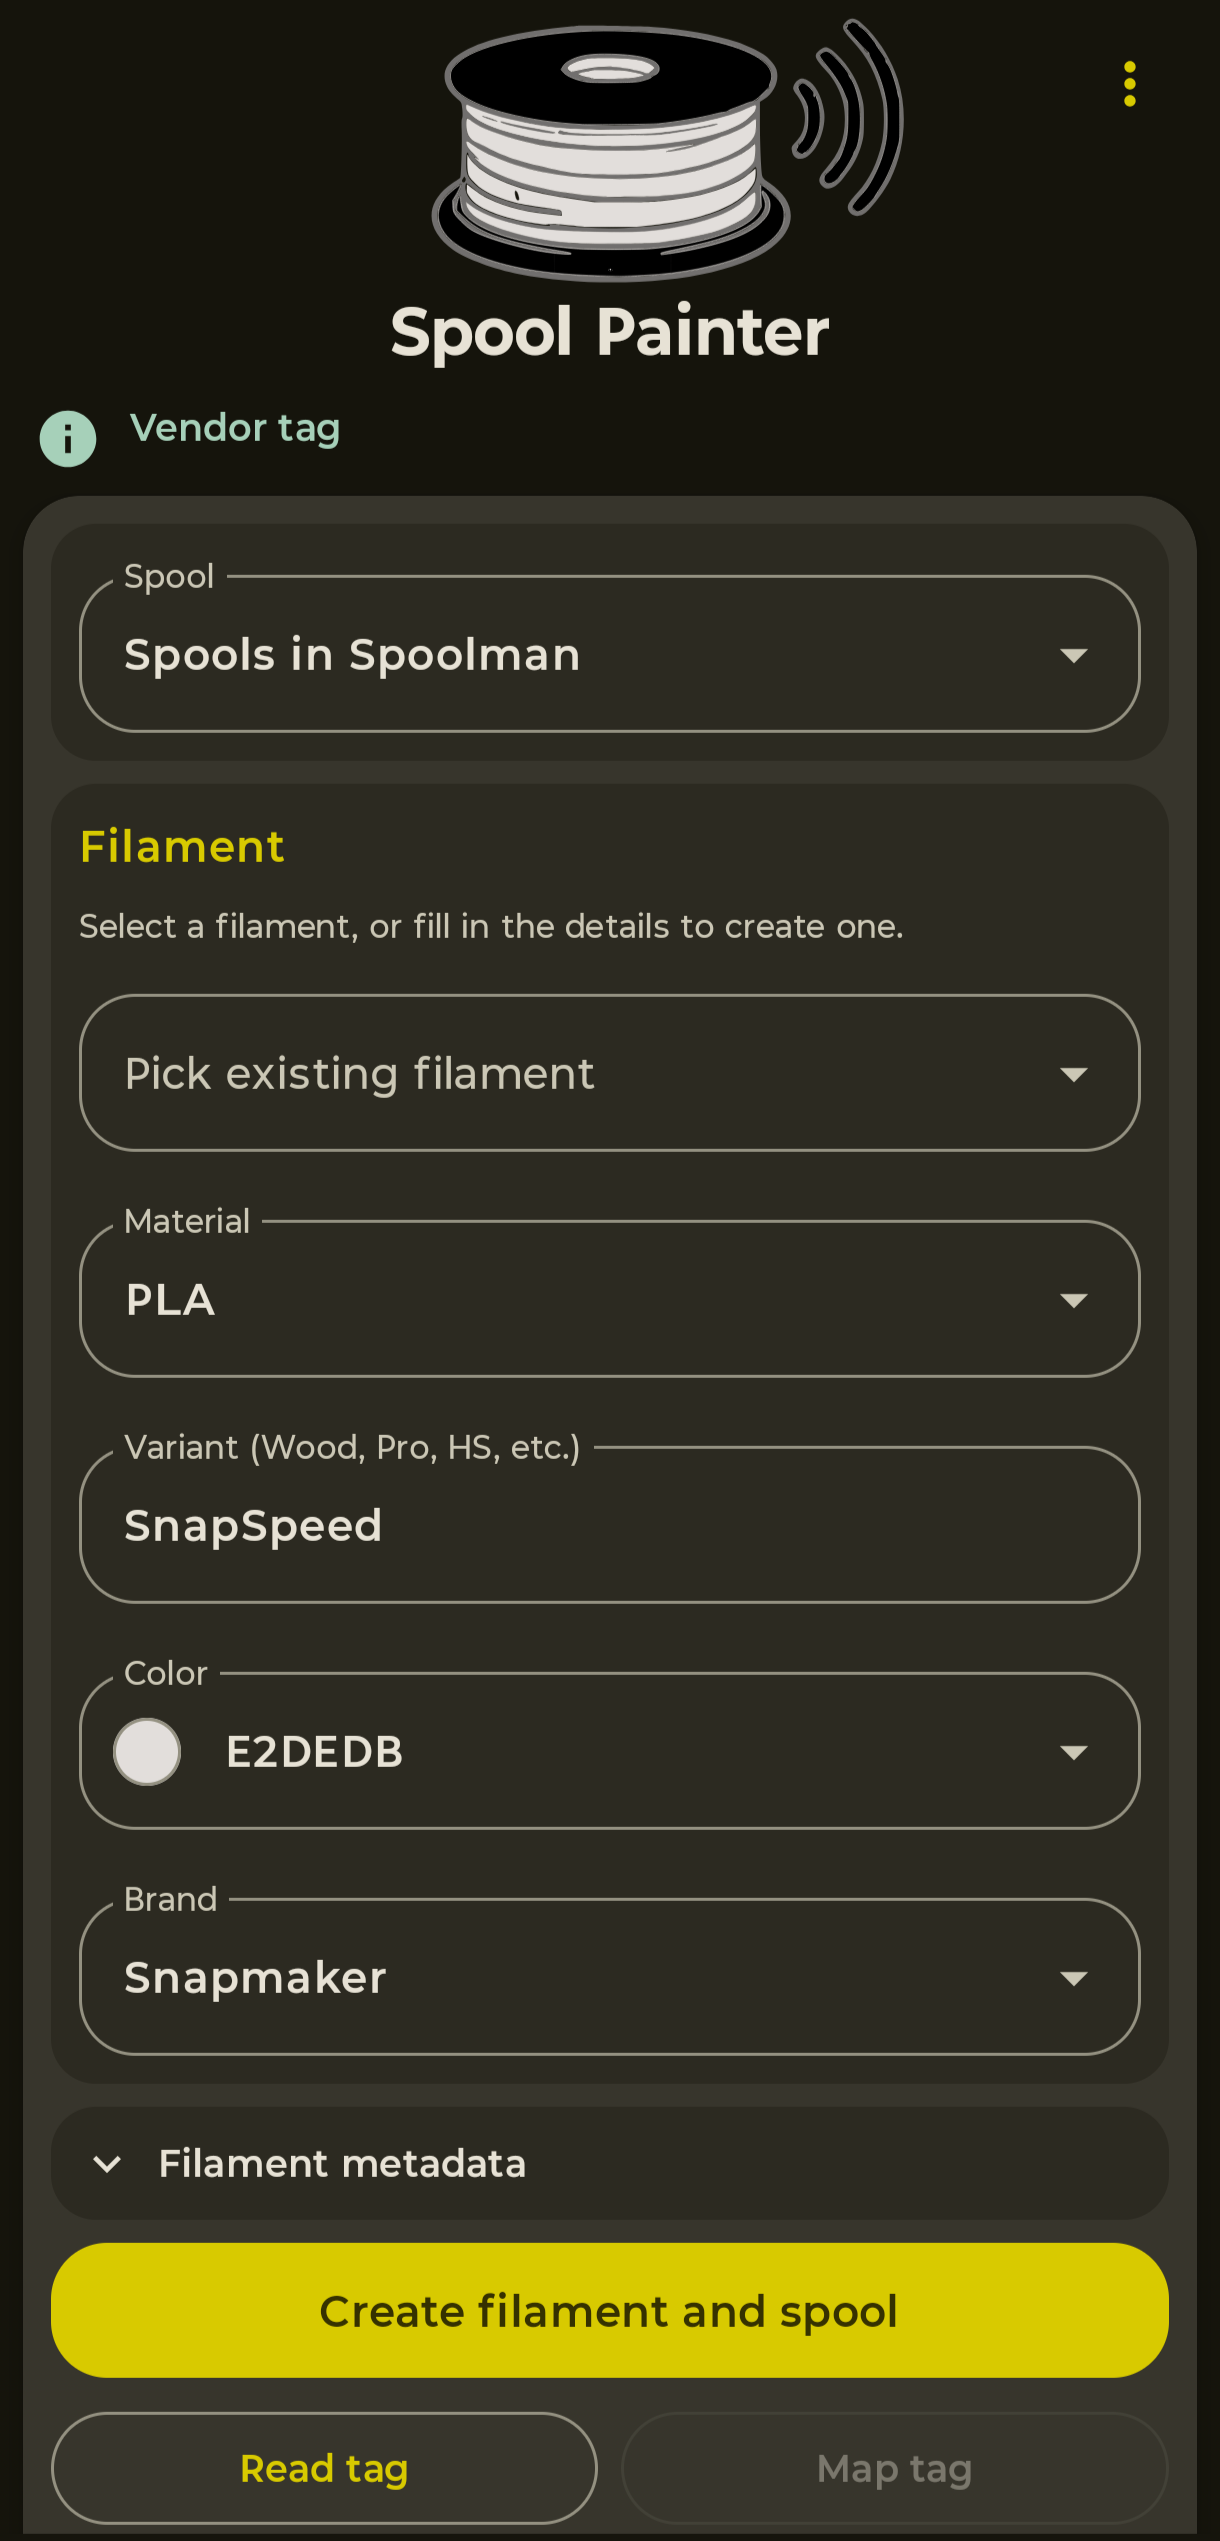
Tag a new spool
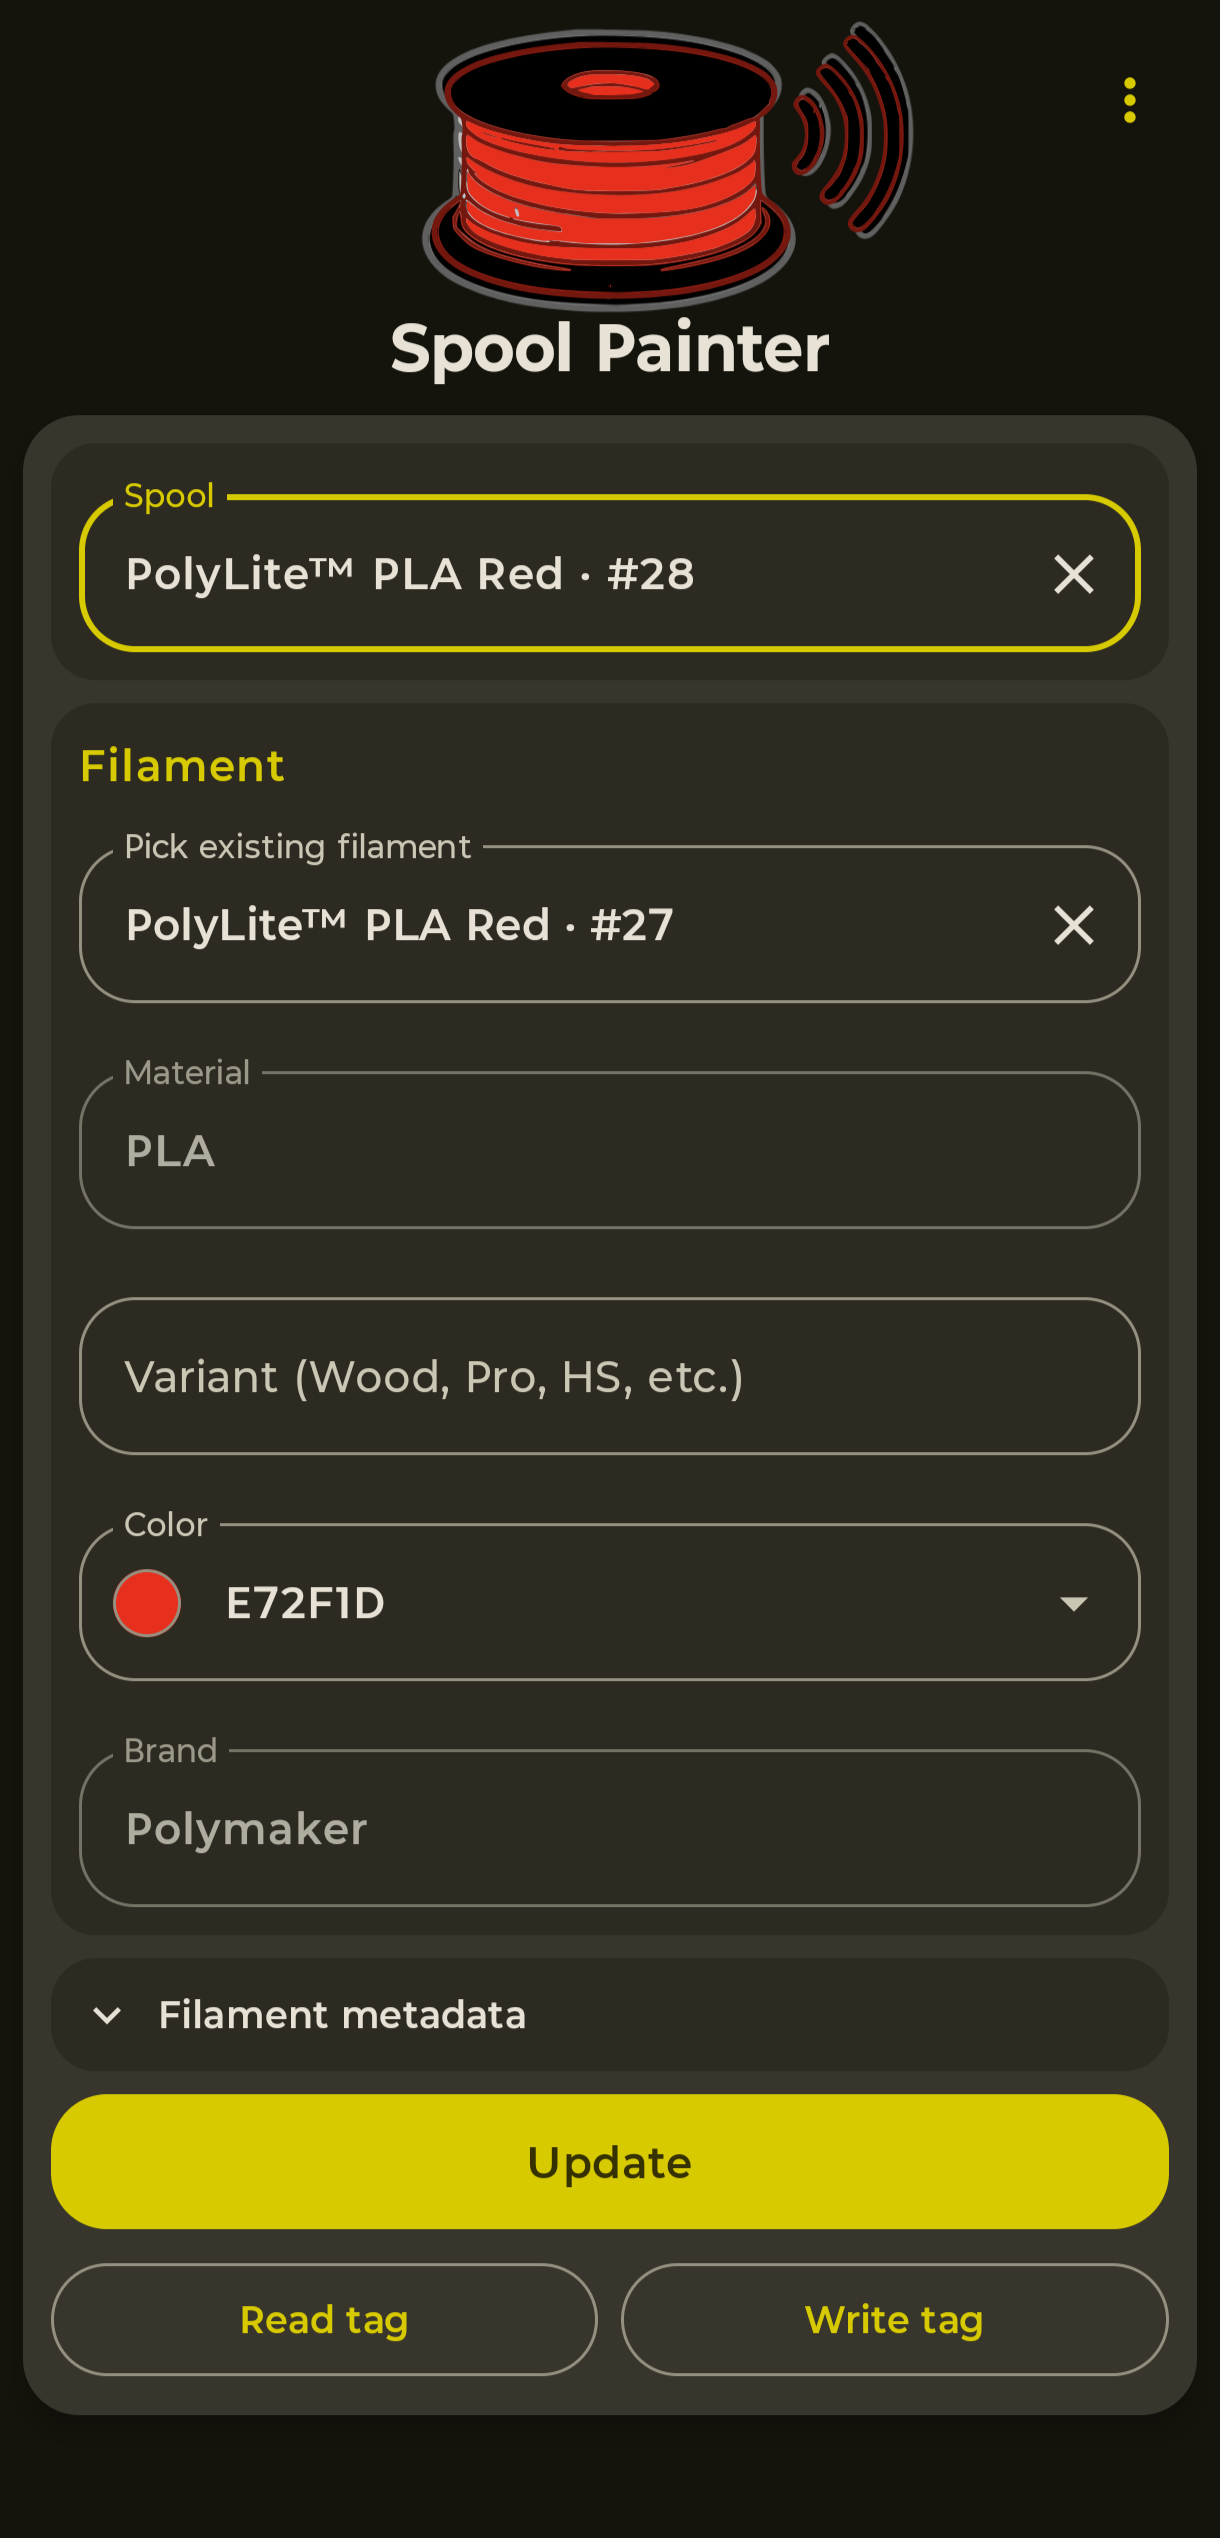
- Fill in brand, material and colour.
- Hold a blank tag against the phone.
The spool is created in Spoolman and the tag is written in one go.
Tag a spool that’s already in Spoolman
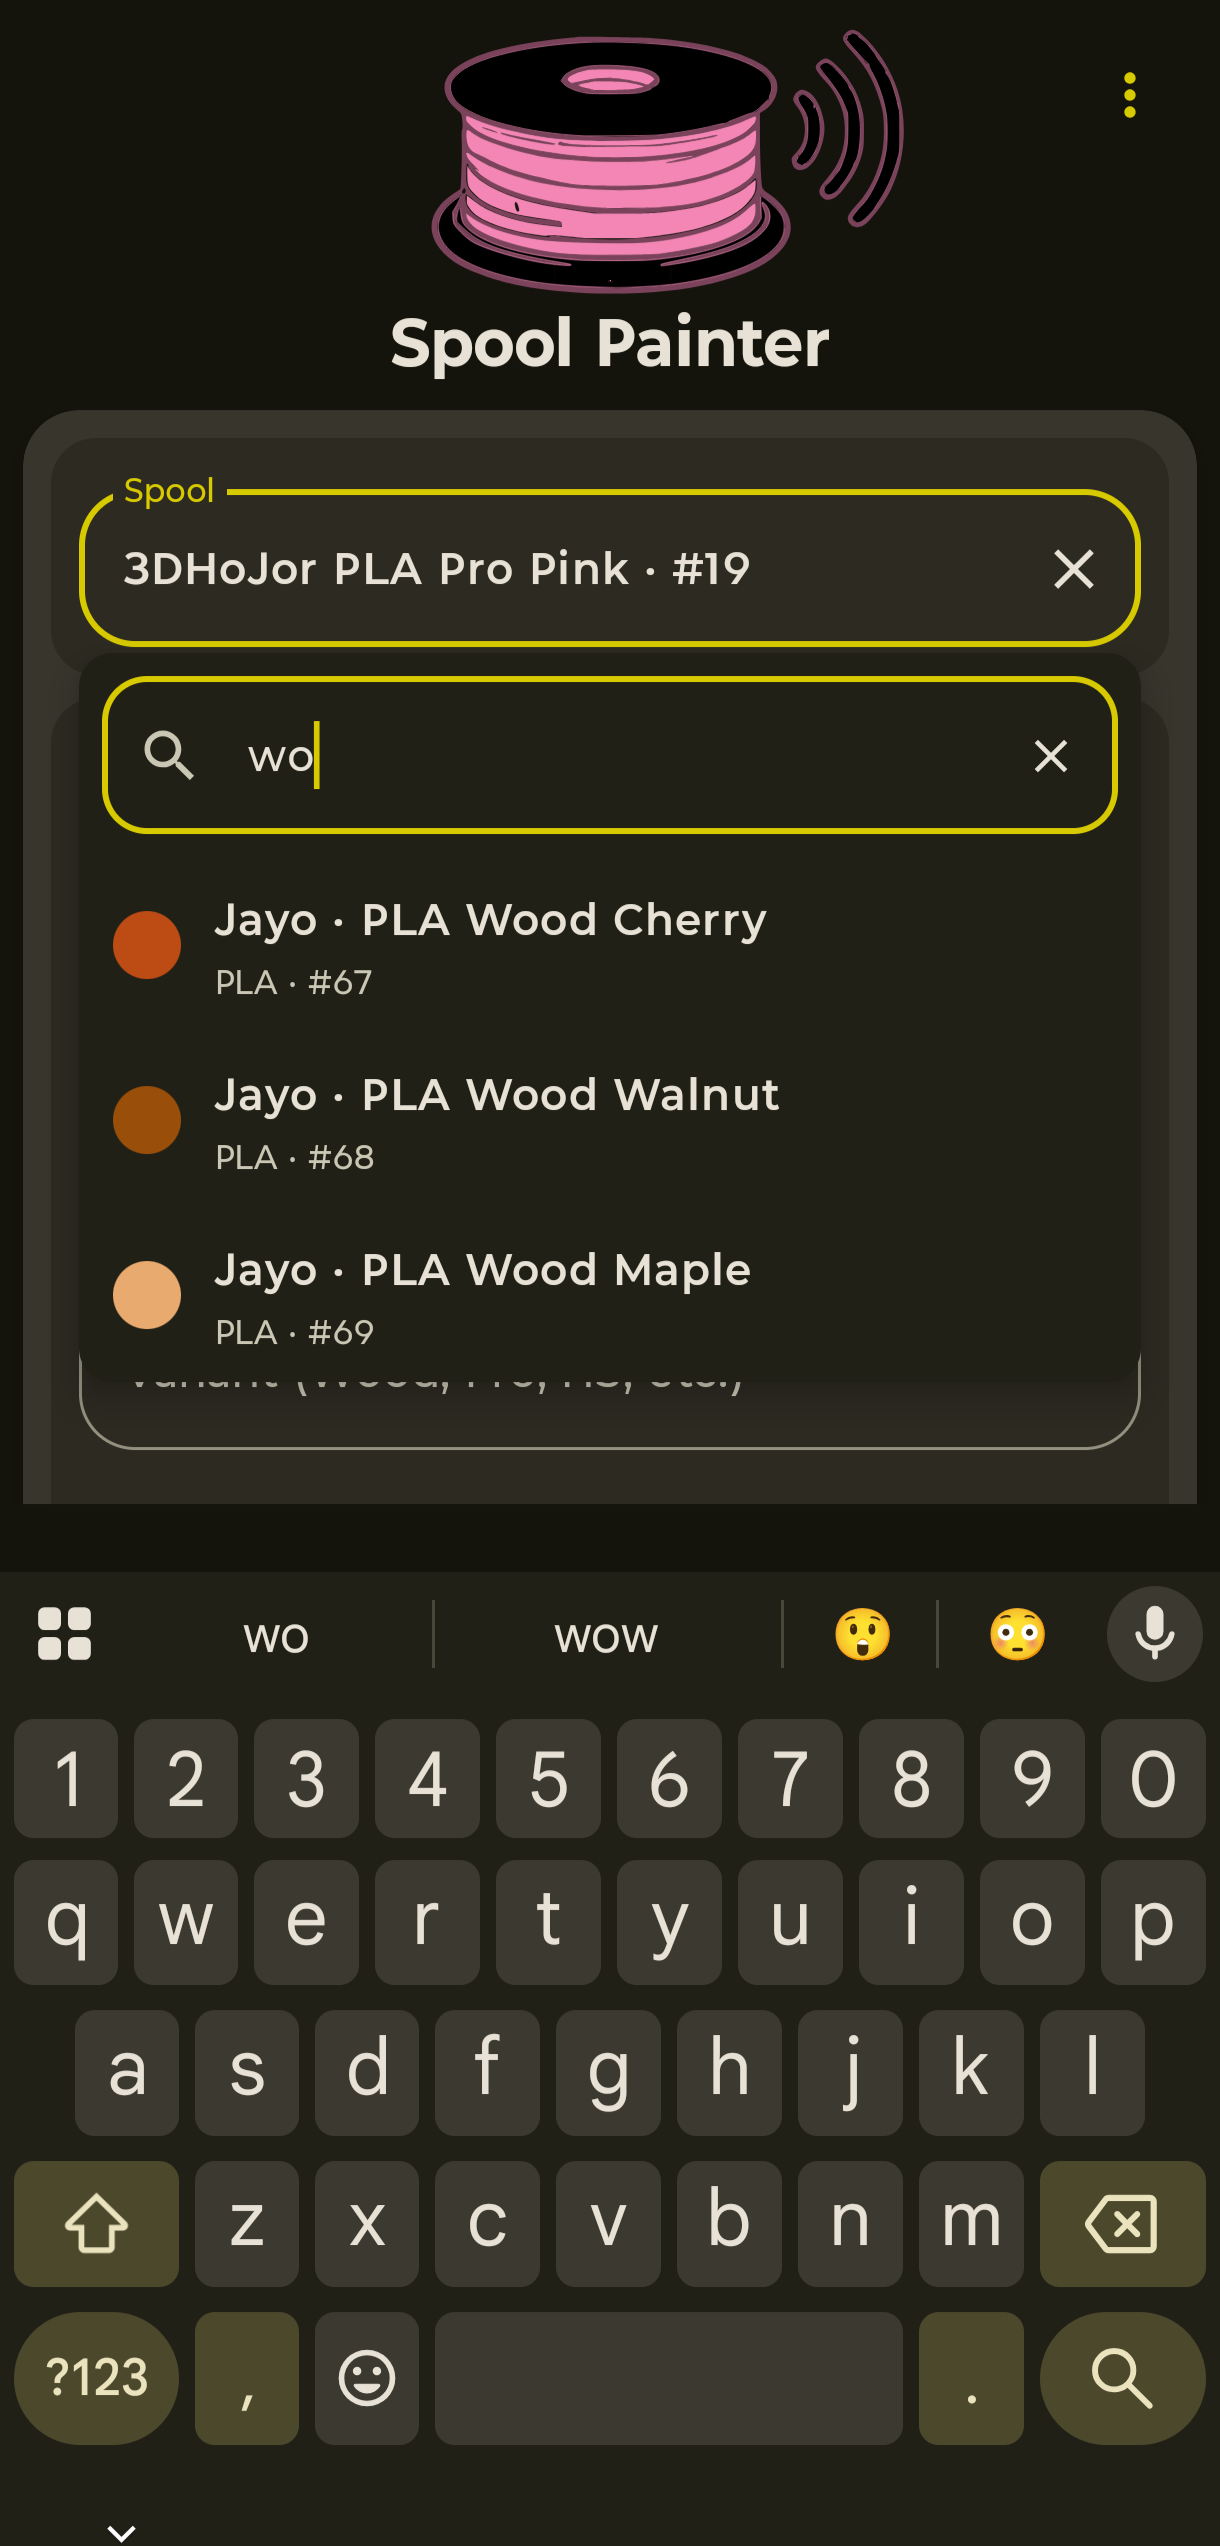
- Open the spool picker and type into the search box. Material, brand and colour all work.
- Pick the spool, then hold your tag against the phone.
| Settings | New spool | Search |
|---|---|---|
 |
 |
 |
Put a tag on each side
The reader sits inside the printer housing, so a tag only gets read if it’s facing it. After the first write the app offers to pair another.
Tags can be reused, nothing to unmap first. If the tag already belongs to another spool, the app asks when you write it and moves it over for you.
Vendor tags
Bambu, Snapmaker, QIDI, Anycubic, Elegoo and Creality tags are read and fill the form in for you. Pairing those is by UID, nothing is written to the chip.
Bambu and Creality need a one time setup per brand under Settings first.
5. Writing tags without Spoolman
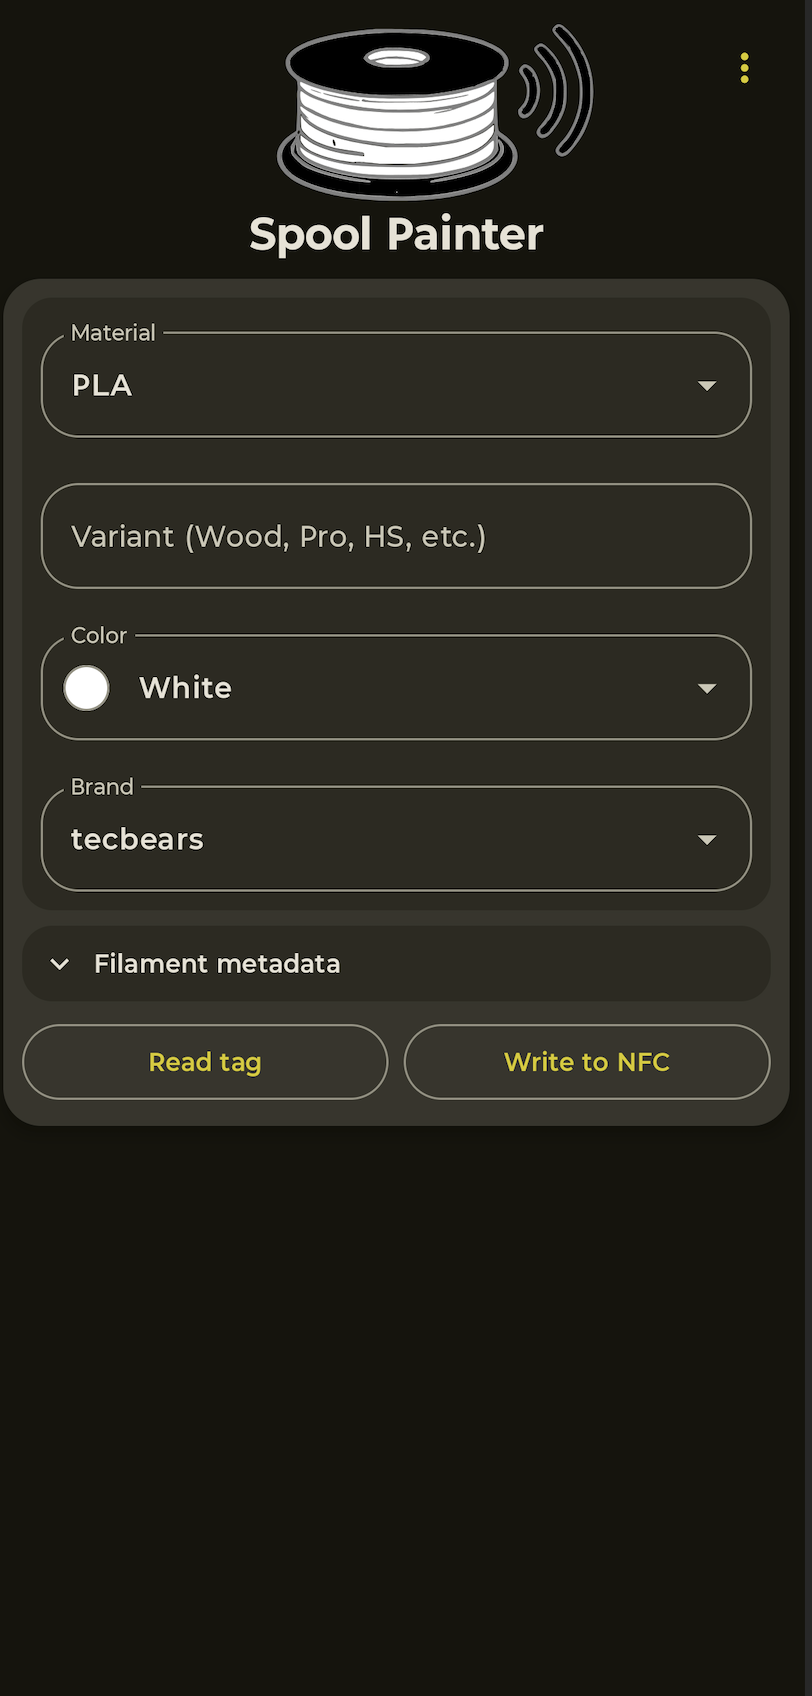
You don’t need Spoolman to get spools recognised. Leave the Spoolman address blank in Settings and the spool and filament pickers disappear, leaving just the filament fields.
Fill those in, hit Write to NFC, and hold a tag to the phone. The printer picks the filament details straight off the tag. What you lose is Spoolman: the inventory and the remaining weight tracking.
6. Filament Manager
Open http://<printer-ip>/filament/ to see what the printer thinks is loaded. You
get a card per extruder with the brand, material and colour it picked up, and a
badge saying where that came from: the tag itself, Spoolman, or something you typed
in by hand.
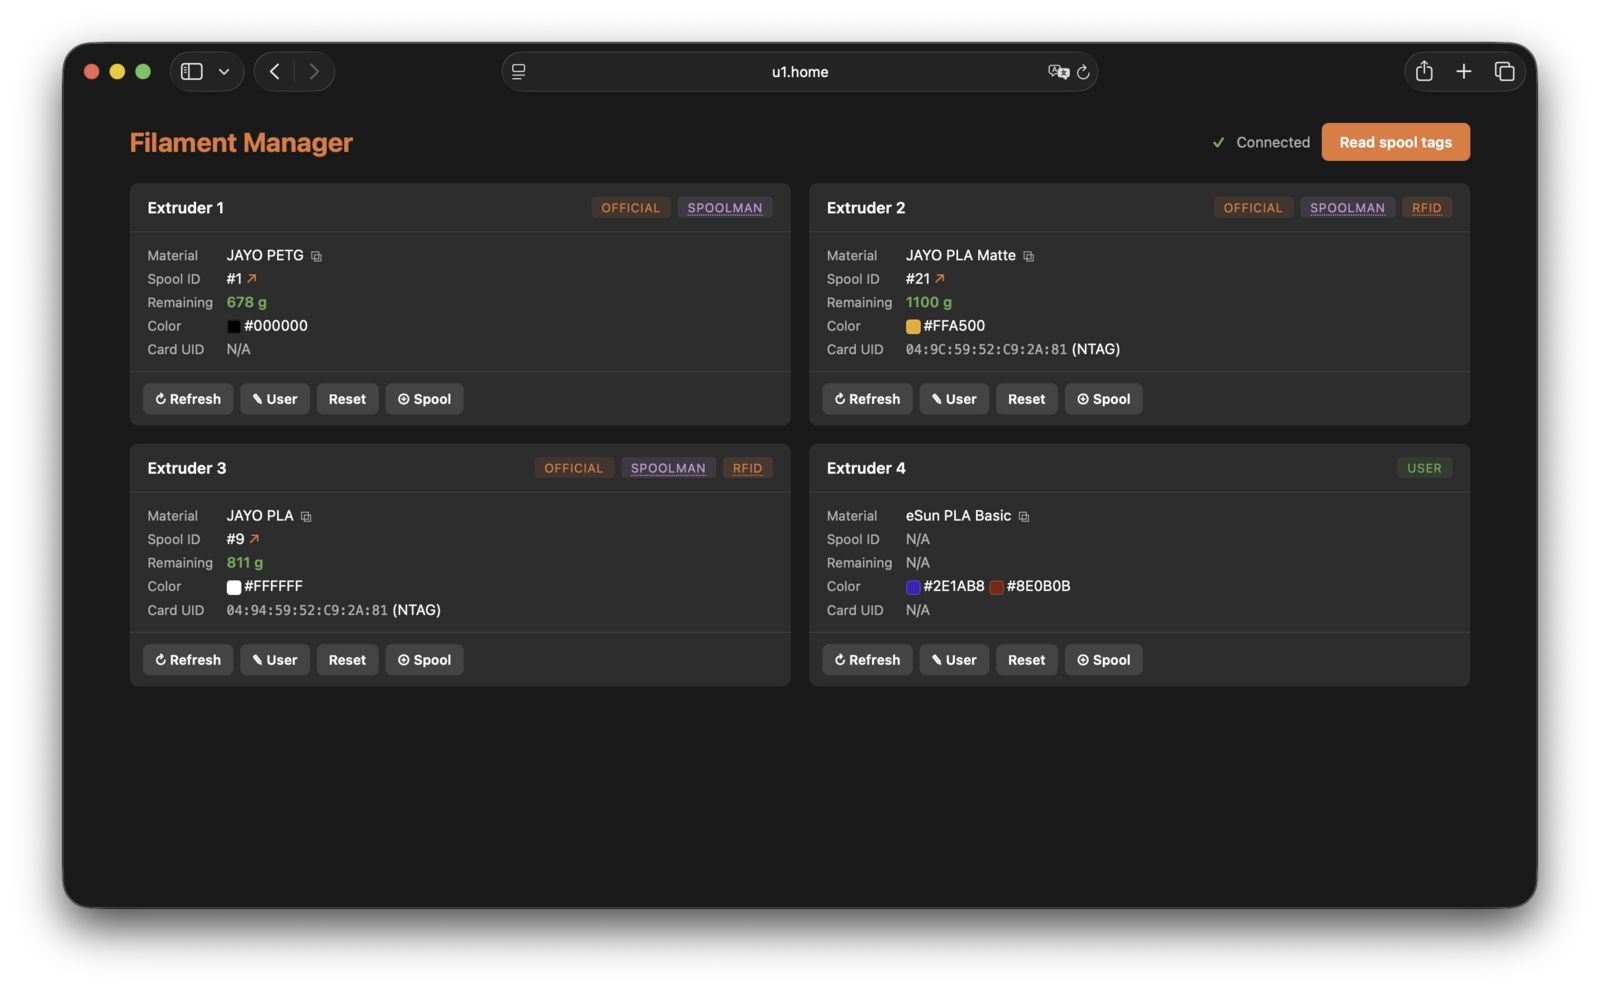
Read spool tags re-reads all four channels, handy after you’ve swapped a spool and want to check the tag took. If Spoolman is connected each card also gets a ⊕ Spool button to pick one by hand.